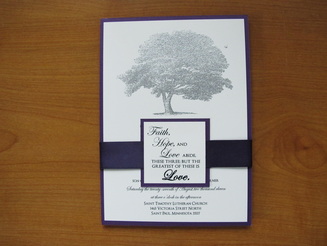
Wedding Invitations
all put together with the belly band
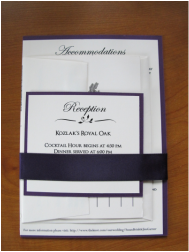
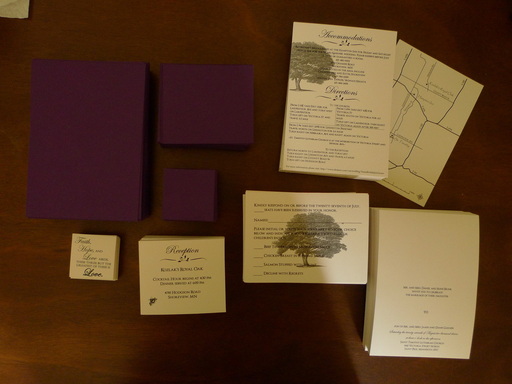
the back side with the inserts
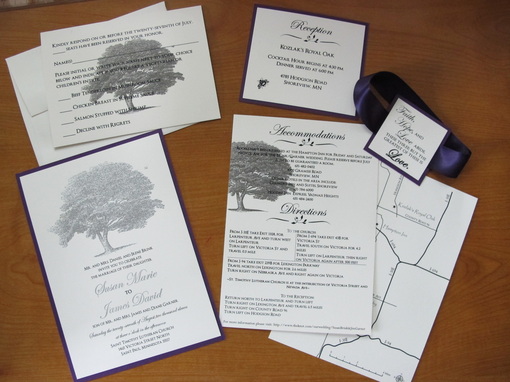
The full package - note that the map is printed on the back side of the accommodations/directions insert
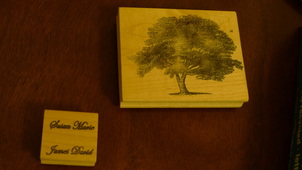
The tree was stamped with clear embossing ink then covered in silver detail embossing powder and embossed using a heat gun. Our names were stamped using a silver ink pad. I used Tombo permanent double sided tape to attach the invite and reception insert to the purple cardstock backers. I used the same stuff to attach a length of ribbon to a purple cardstock square and then again to attach the small square with the love quote on top of that.
Invites and inserts printed and cut by a local scrapbooking store. The purple paper was cut by yours truly. All ready to be stamped and assembled!
Jim and I designed our invitations and inserts using Photoshop. Jim designed the map using GIS (lucky me to have a fiance who deals with making maps for most of his master's!).
At the beginning
We came across this clip art image of a tree on One Heart Weddings and fell in love with it. However, we decided we wanted to stamp and emboss the image on our invites instead of just getting it printed. After scouring the internet for hours trying to find a tree stamp we liked just as well, we decided to get a custom made stamp using our favorite image instead. We also want to stamp and emboss our names to make them stand out more. There are several sites online that will make custom rubber stamps, however there is a rubber stamp store not far from where we live that makes rubber stamps so I went with them to support local business. I'm really happy with how they turned out and can't wait to start stamping with them once we get our paper!
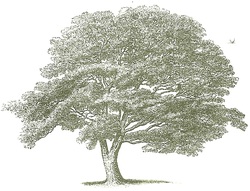
The image we fell in love with from One Heart Weddings.
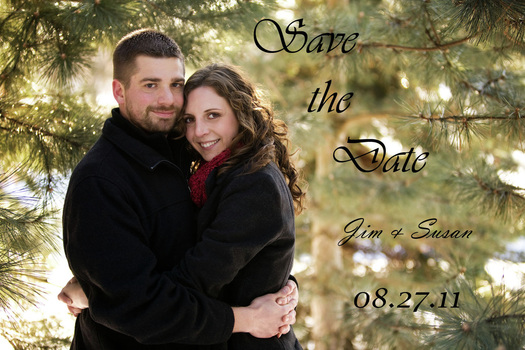
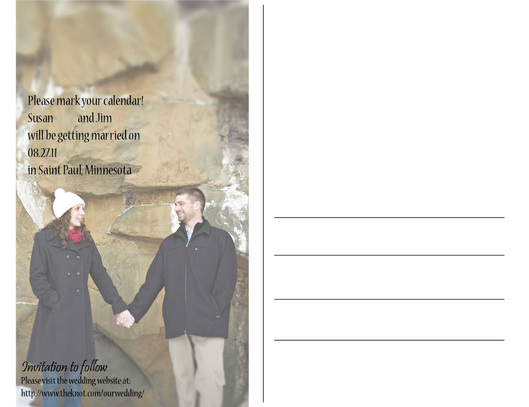
Save the Date Cards
I designed our STDs in Photoshop using our engagement pictures. They are standard-sized postcards ordered from Vistaprint.