Bridesmaid Jewelry
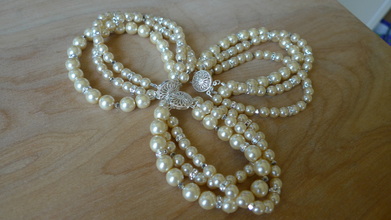
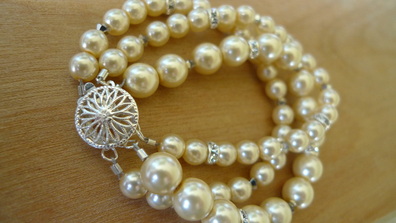
I knew I wanted to try my hand at making jewelry for my bridesmaids. I liked the look of the haute bracelets I had seen on some other Knottie bios, but I was worried that a brooch on the bracelet would compete with the brooch on the bridesmaid dresses. So after googling images of multi-strand bracelets, I found a few to use as inspiration and ordered my pearls and supplies from Fusion Beads. Here's what I came up with. It was surprisingly easy and fun.
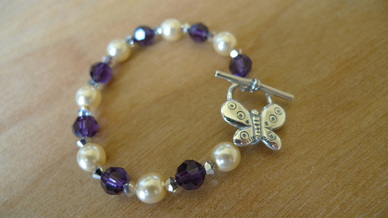
I was so excited to find this cute butterfly toggle clasp for the bracelet for our flowergirl!
Thank You Sign
After seeing some other brides make thank you signs, I thought it would be a cute, easy DIY project to do. I bought two wooden plaques from Michael's, some acrylic paint in our colors (ivory, dark purple, light green) and some brushes. I ended up having to go back and get a smaller brush, because the one I got the first time wasn't small enough for the detail work I wanted to do. To get that nice thin line I used a 10/0 spotter brush. I put two coats of ivory paint on the wood and then designed a simple "thank you" with a couple of flourishes in photoshop. I flipped the design horizontally to make it backwards before printing it out. I then placed each page on the wood, ink side down and rubbed over the back of it to transfer a light layer of ink to the wood. I was then able to trace over it with my purple and green paints.
On the wedding day, we'll each hold one of the signs at some point and our photogs will snap a pic that we can use to make our thank you cards.
On the wedding day, we'll each hold one of the signs at some point and our photogs will snap a pic that we can use to make our thank you cards.
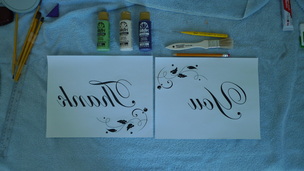
Paint, brushes, pencil for rubbing, backwards printed thank you pages.
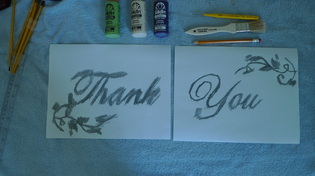
The back of the pages after I rubbed them with pencil to transfer the ink to the wood.
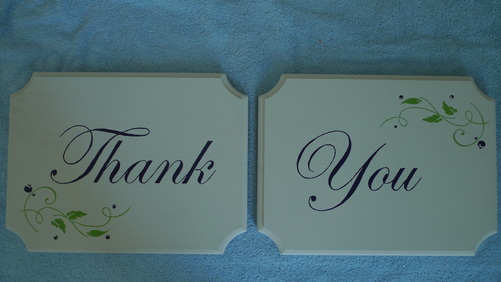
Ta da! The text is in purple, though it's hard to tell here.
Escort Cards
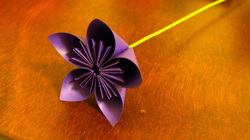
I got this idea from Knottie I Want Cake on the MSP board. I may be crazy for doing this, but I guess we'll wait and see how it goes. These are origami Kusudama flowers. Directions on how to make them here. I bought purple and green origami paper online from Kim's Crane and cream origami paper from Amazon.com. The cream ended up being more yellow/orange, but I don't think anyone will notice. I got cloth covered floral wire from Michael's to use as the stems. I've been gluing the stems onto the petals and the petals together with Scotch quick-dry adhesive glue. The leaves were cut from medium weight paper using a leaf-shaped embossing punch and each flower will have two leaves - one with the guest's name and one with their table number. Guests will 'pick' their flower from a bed of moss covered styrofoam on the wedding day.
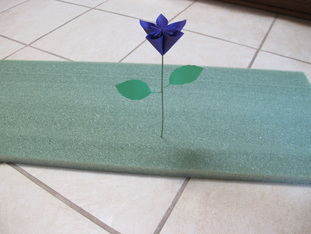
A rough idea of the finished product.
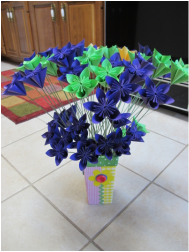
Not there yet, still many more to fold. The tall stems need to be cut in half.
Dress Hangers
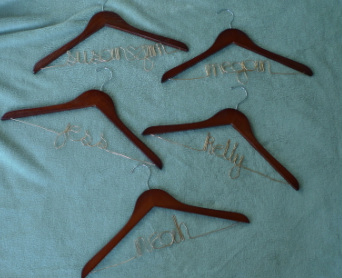
I was intimidated by the idea of making these at first, but they really weren't that hard. I bought cherry wood hangers from Target in a pack of 5 for $4.99 and two 5-yrd packs of 12 gauge florist wire from Michael's for $3.99 each. I then used my hands to form the letters, looking up other brides' examples for an idea of how the letters should look. I used a needle-nose pliers to tighten letters that needed it and wrapped the wire around a C size battery for the "a"s and "g" (any cylindrical object about that size would work). I used a 5/64" drill bit and drilled a hole one inch from each end in the hangers. I drilled at a bit of an upward angle. I then put a few drops of super glue in the holes (one at a time of course) and pushed in the wire ends. I found Knottie drdifabio's bio the most helpful in making these. Click on the images below to see them larger. I made one for each of my bridesmaids, one for the flower girl and one for myself. They're not perfect, but I think they look pretty decent.
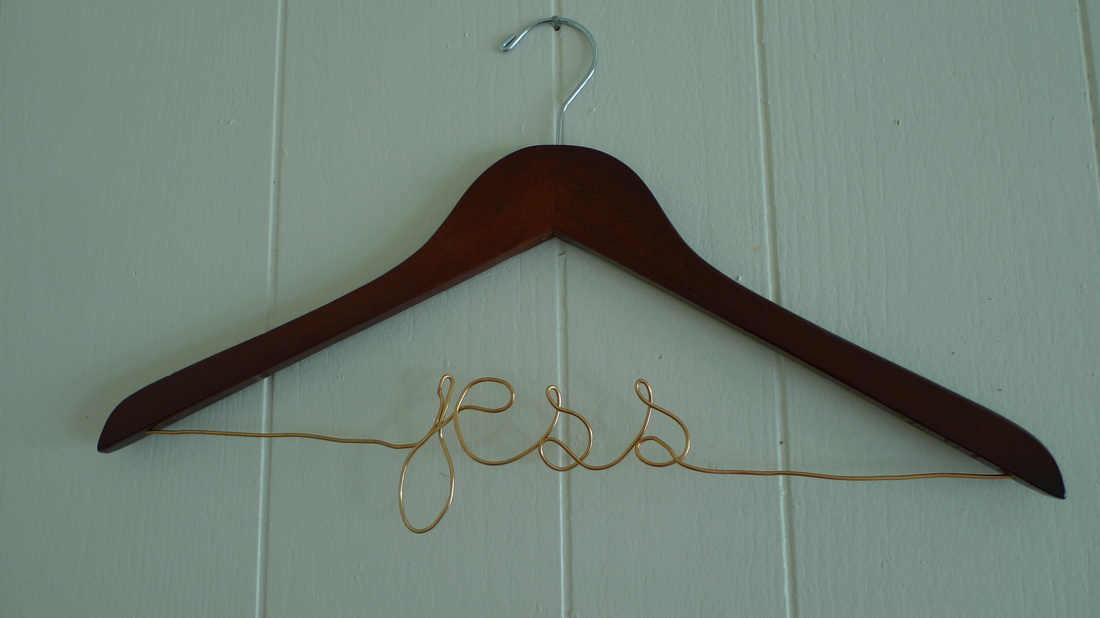
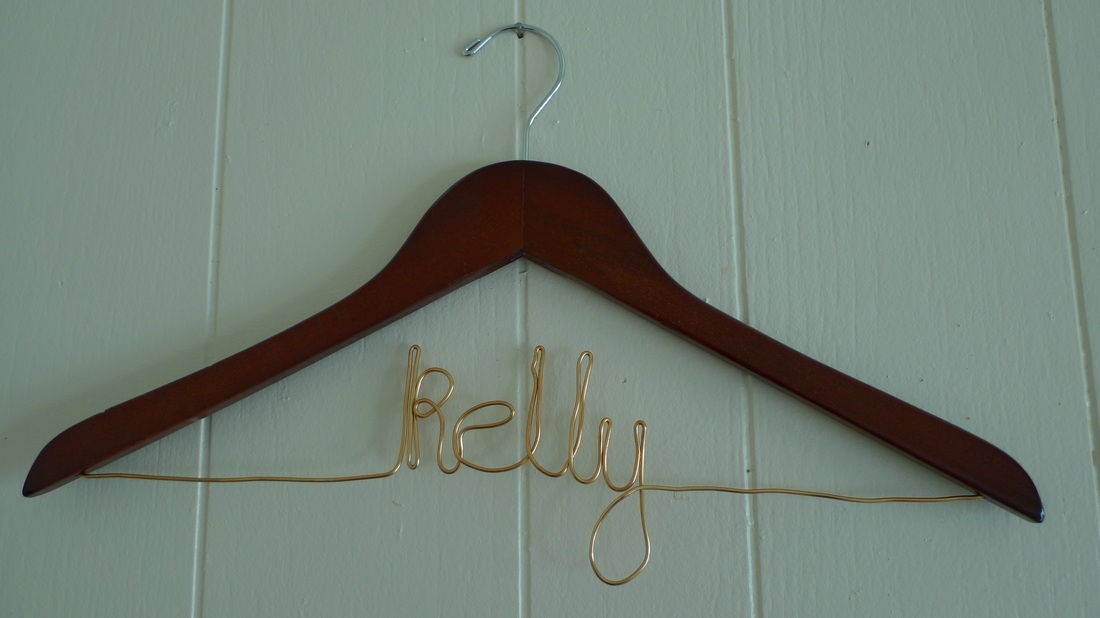
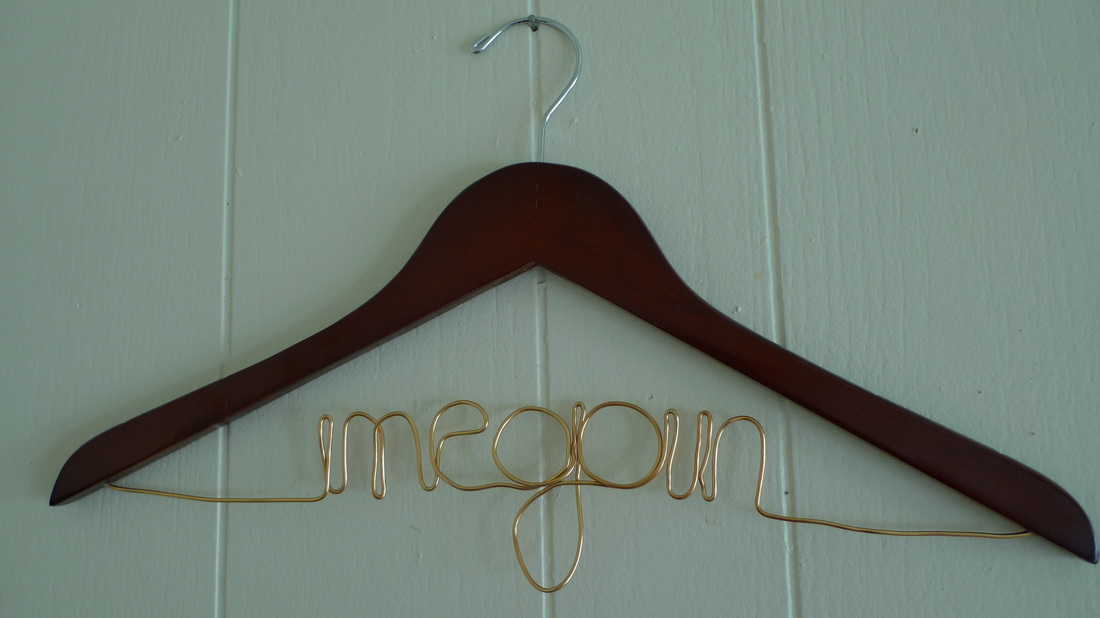
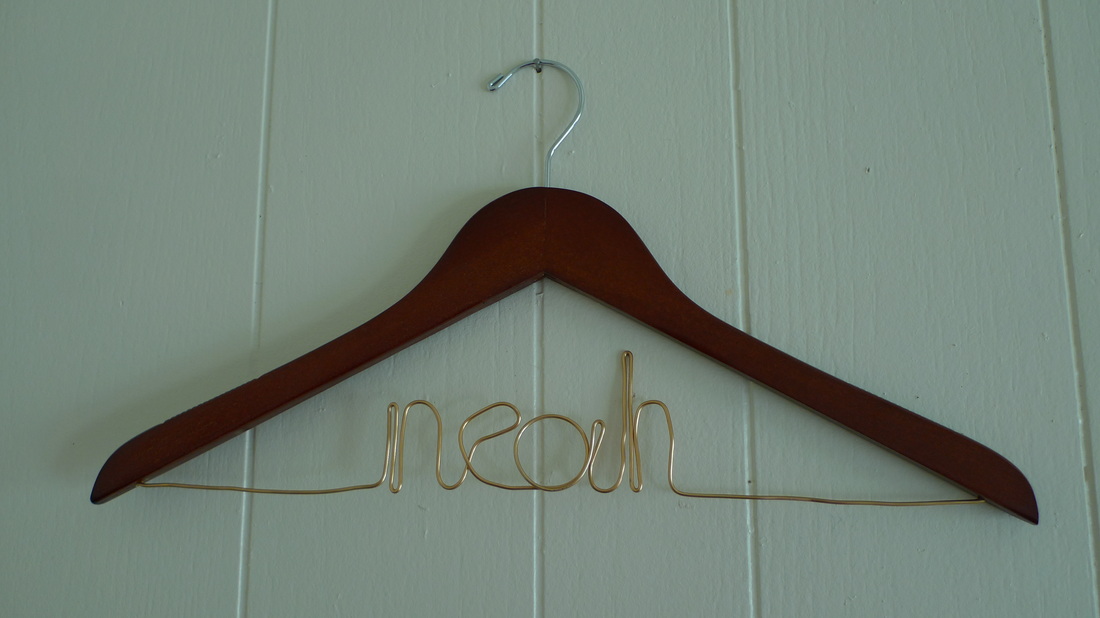
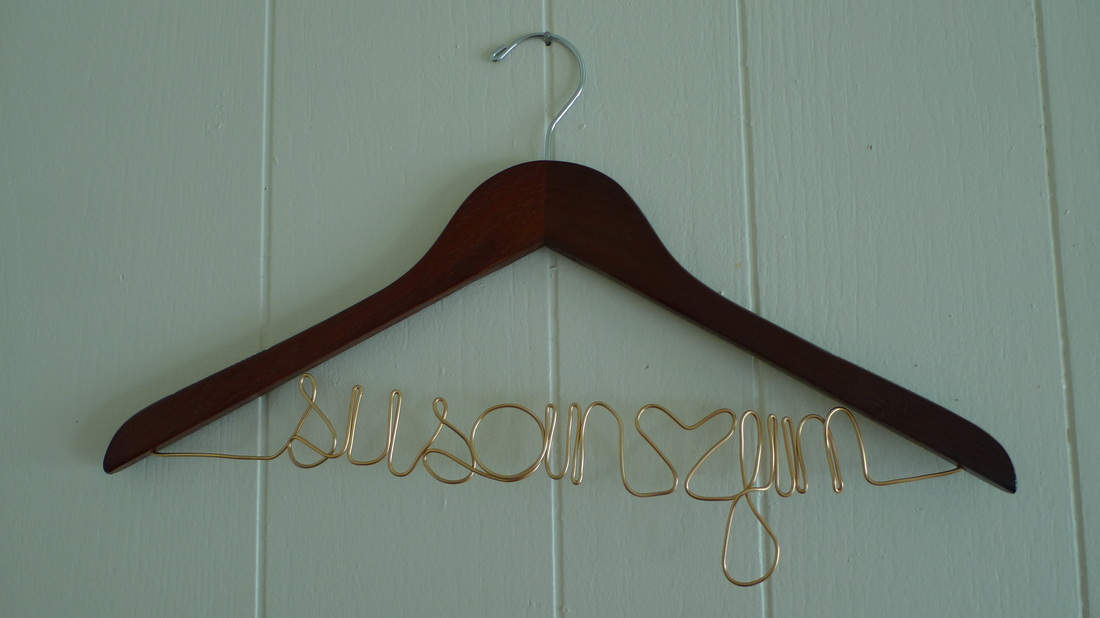
Table Names/Numbers
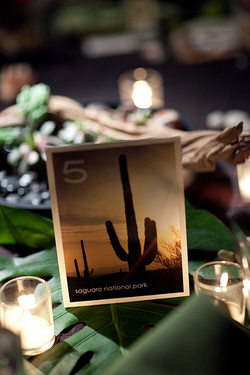
Image from Photobook Girl.
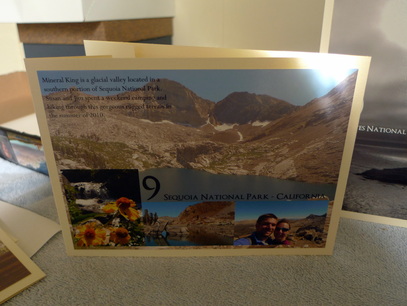
I scratched my old table name/folder idea once I found these on Photobook Girl's blog. Her directions here. These are much simpler and less cluttered and I think they pack more of a visual punch. They're also super fun to do in Photoshop and I ripped right through them. After they were done in Photoshop I got them printed through MPix on their standard 5x7" photo paper, though we added a lustre coating to help make the colors pop and protect against fingerprints. I also ordered cardstock tents from Paper Source to mount them on. I used removable adhesive figuring I'll want to put these in a scrapbook after the wedding seeing as we love how they turned out. See below for an example of a front and back image from the Photoshop file and then some examples of the finished product (though I haven't taped the paper tents together yet). I'm really excited about these!
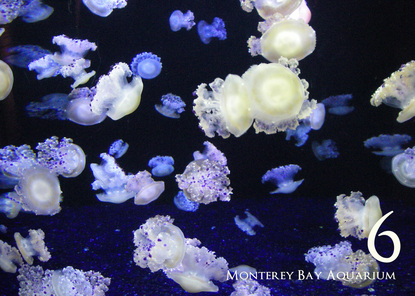
The front

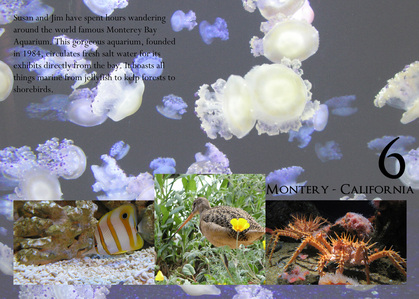
The back
Alternative Guestbook
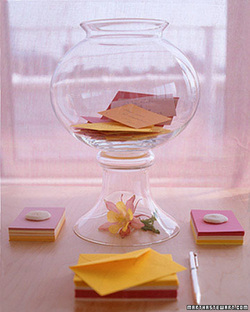
I found this idea on Martha Stewart's website. Guests take a notecard and write a message on it to the bride and groom, put it in an envelope and then place it in the vase. The envelopes let people write something a little more sentimental if they wish without having to worry about other guests reading what they wrote. We will be asking guests to write out a favorite memory or either or both of us, a piece of advice or wish for us, a joke or a drawing. Hopefully we will get some special messages. My plan is to put them all in a small notebook after the wedding, possibly gluing in the envelopes if many people have written on both sides of the card.
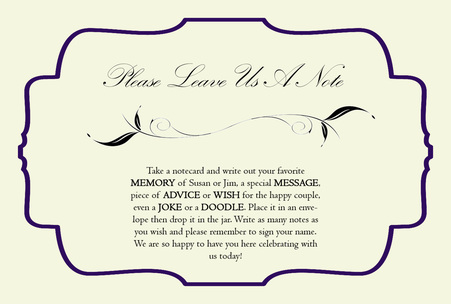
The sign for the table. I designed it in Photoshop and ordered it as a small lawn sign from Vistaprint.
Favors
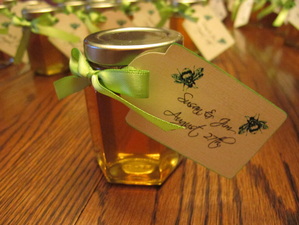
We are going to be giving small jars of honey to our guests - one jar per family. The jars are 4 oz hexagonal jars from Specialty Bottle. I picked up a couple of jugs of honey made by Wolf Honey Farms in Baldwin, WI from the St. Paul farmers market. I also designed some tags in Power Point and printed them out on ivory cardstock and cut them all out by hand. For a special extra touch I dipped the edges of the tags on a stamp pad. My maid of honor came by to help me fill the jars and tie on the tags. That part went a lot faster than I thought I would. I think they look super cute and can't wait to give them to our guests!

Me trimming the ribbon to get it just right.
